
Asset Management
The asset list on the right manages all model files in the current scene.
Asset Types
Currently supported: 3DGS model files (LCC2)
Adding Assets
Add models through Menu bar → File → Open / Import.
Selecting Assets
Ctrl+ click: multi-selectShift+ click: range select- Click an asset: the Properties panel switches to it
- With multiple selected, the Properties panel is hidden
Deleting Assets
- Select, then press
DeleteorBackspace - Deleting a model needs a second confirmation
- The asset list and 3D viewport update in sync
Show / Hide
Use the show/hide button in the asset list to control a model's visibility.
Rename
In Edit mode, double-click an asset name to change it. Up to 20 Unicode characters. Names can't be duplicated.
Locate
Click Locate and the camera flies to the model's bounding box.
Properties Panel
With a model selected, the Properties panel shows:
Basic info:
- Point count (read-only)
Transform properties:
| Property | Range | Step |
|---|---|---|
| Move X / Y / Z | Unlimited | 1 |
| Rotate X / Y / Z | 0° ~ 360° | 1 |
| Scale | 0 ~ ∞ | 0.01 |
Color properties:
| Property | Default | Range |
|---|---|---|
| Brightness | 0 | -1.00 ~ 1.00 |
| Contrast | 0 | -1.00 ~ 1.00 |
| Saturation | 0 | -1.00 ~ 1.00 |
| Highlights | 0 | -1.00 ~ 1.00 |
| Shadows | 0 | -1.00 ~ 1.00 |
| Opacity | 100% | 0% ~ 100% |
| Temperature | 0 | -1.00 ~ 1.00 |
| Tint | 0 | -1.00 ~ 1.00 |
Rendering properties:
| Property | Description |
|---|---|
| Mip Filter | Matches rendering to the model source to reduce flicker and jagged edges while preserving model details as much as possible. |
Mip Filter
Mip Filter matches a model's training method and rendering settings so that it appears as expected in Model Editor.
- On: Suitable for LCC / LCC2 models and PLY models exported from LCC2. When enabled, it can make highlights and small, dense model details more stable while zooming or moving the view.
- Off: Suitable for PLY models created with third-party tools. Turning it off avoids additional filtering that could affect original textures, contours, and details.
Visual Comparison
Tower Top
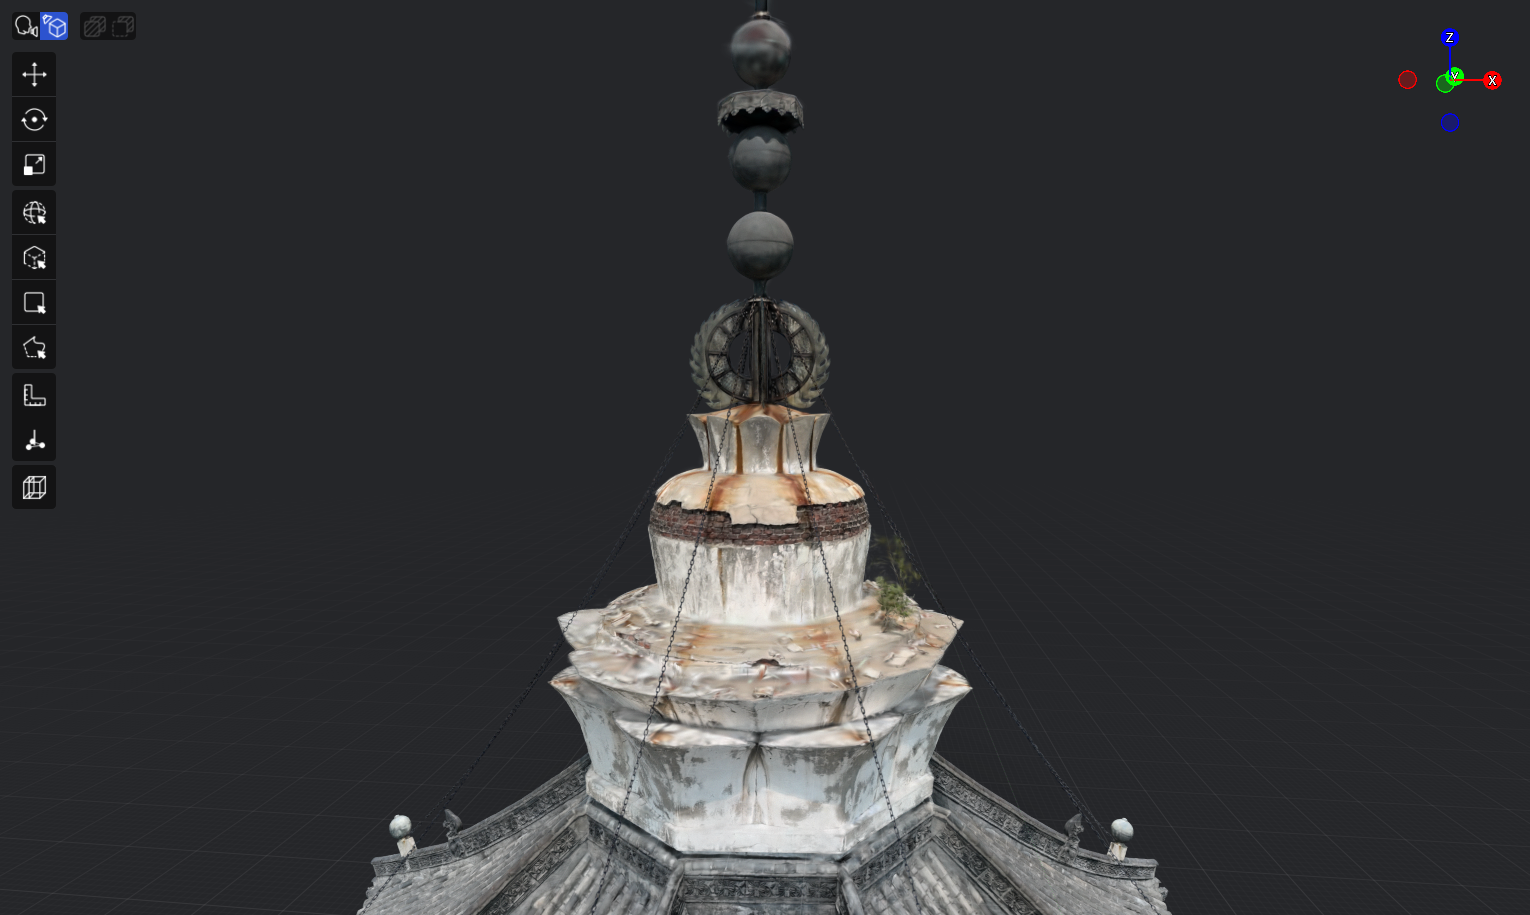
Mip Filter on
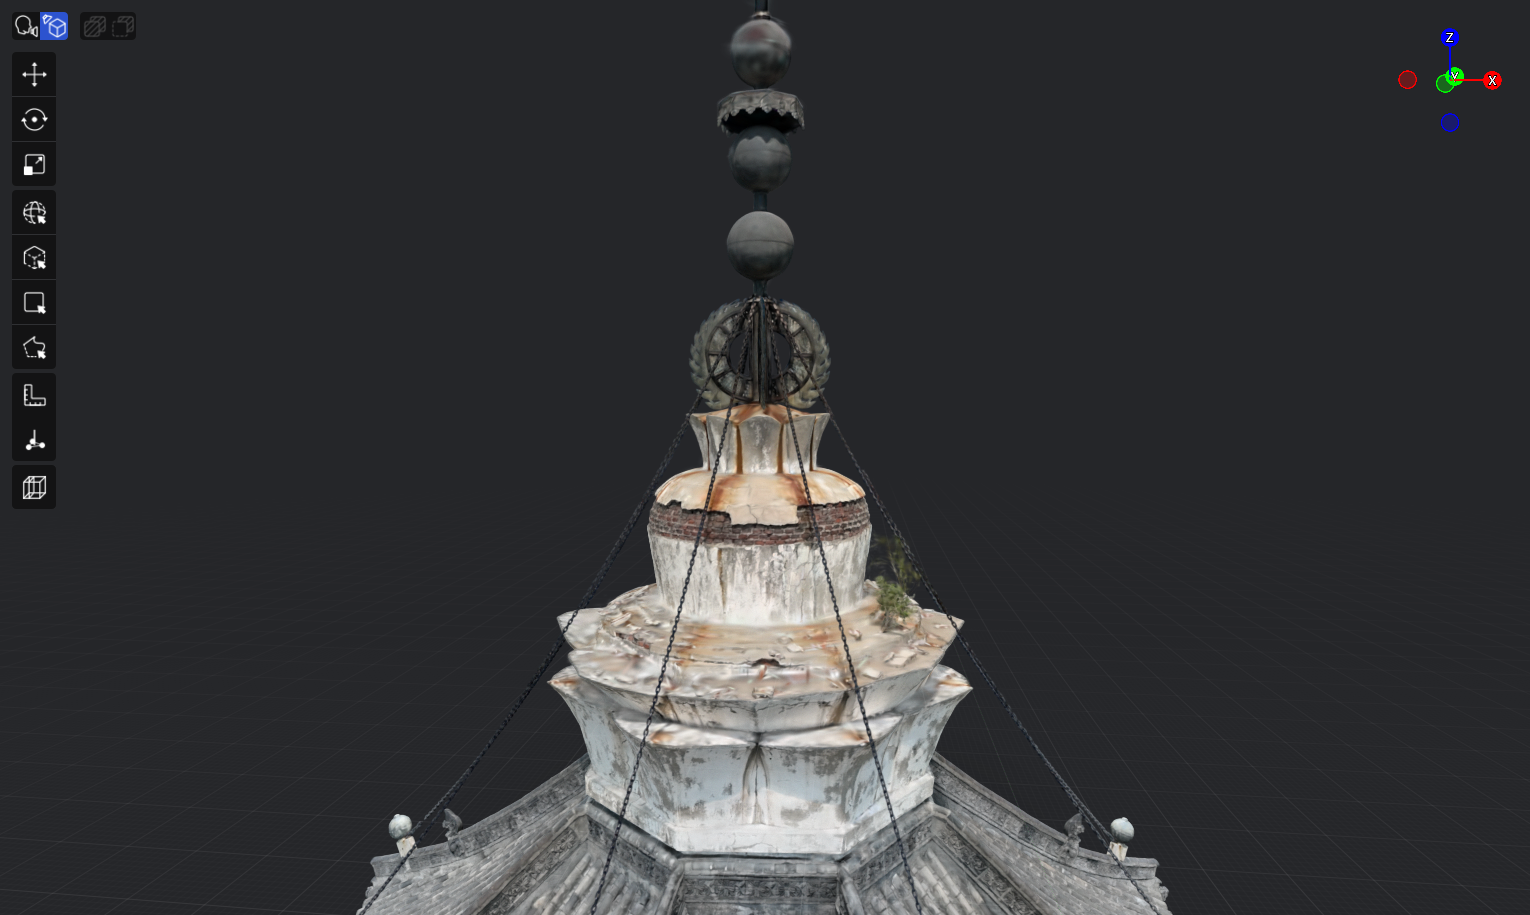
Mip Filter off
Tower Body
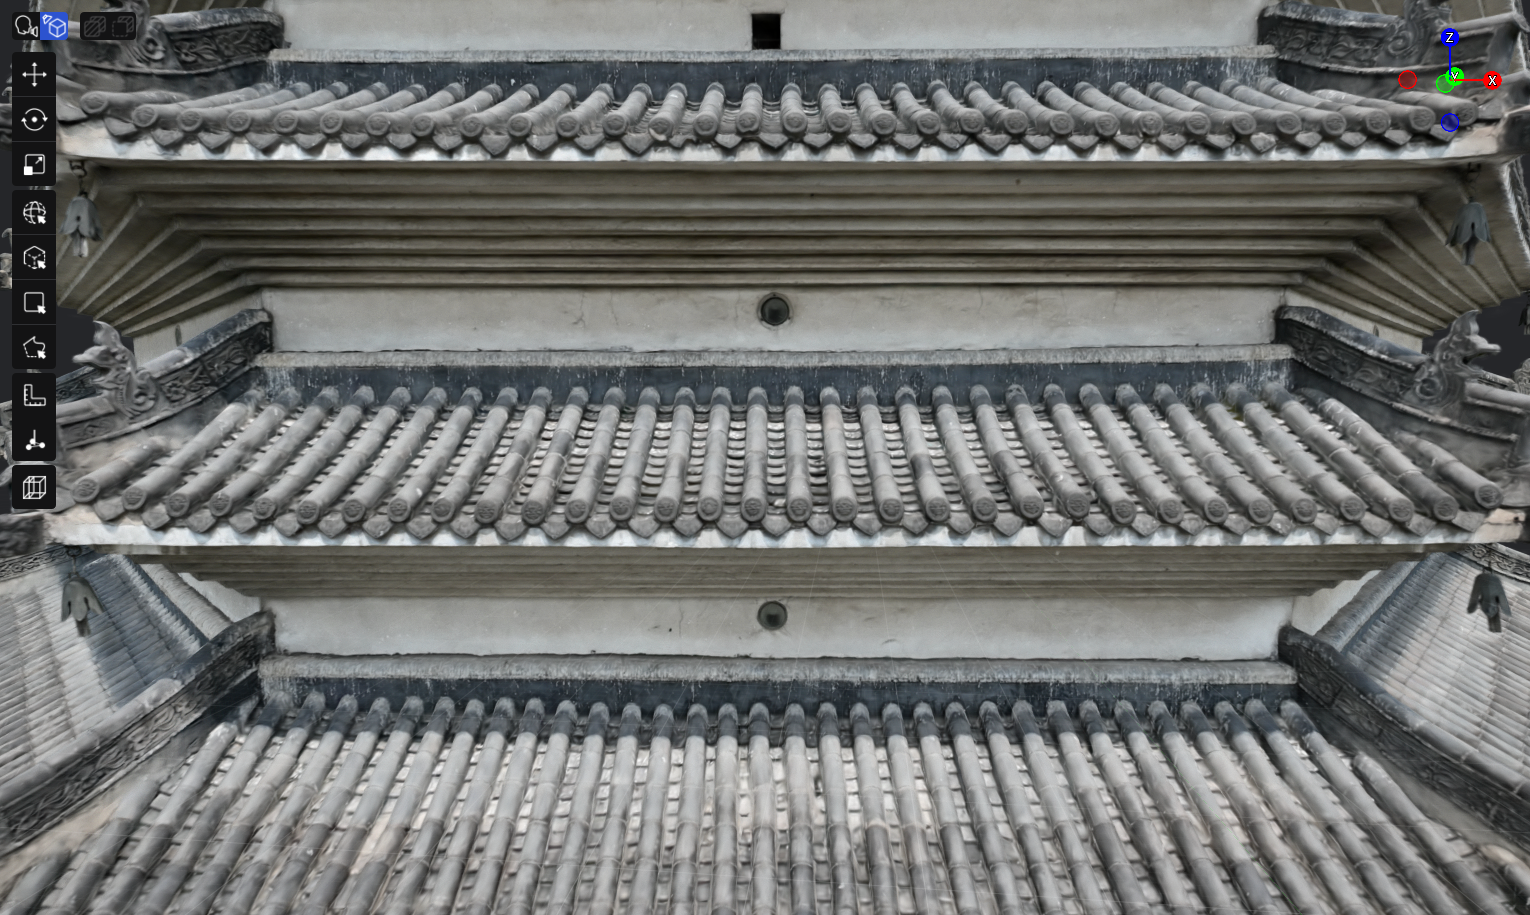
Mip Filter on
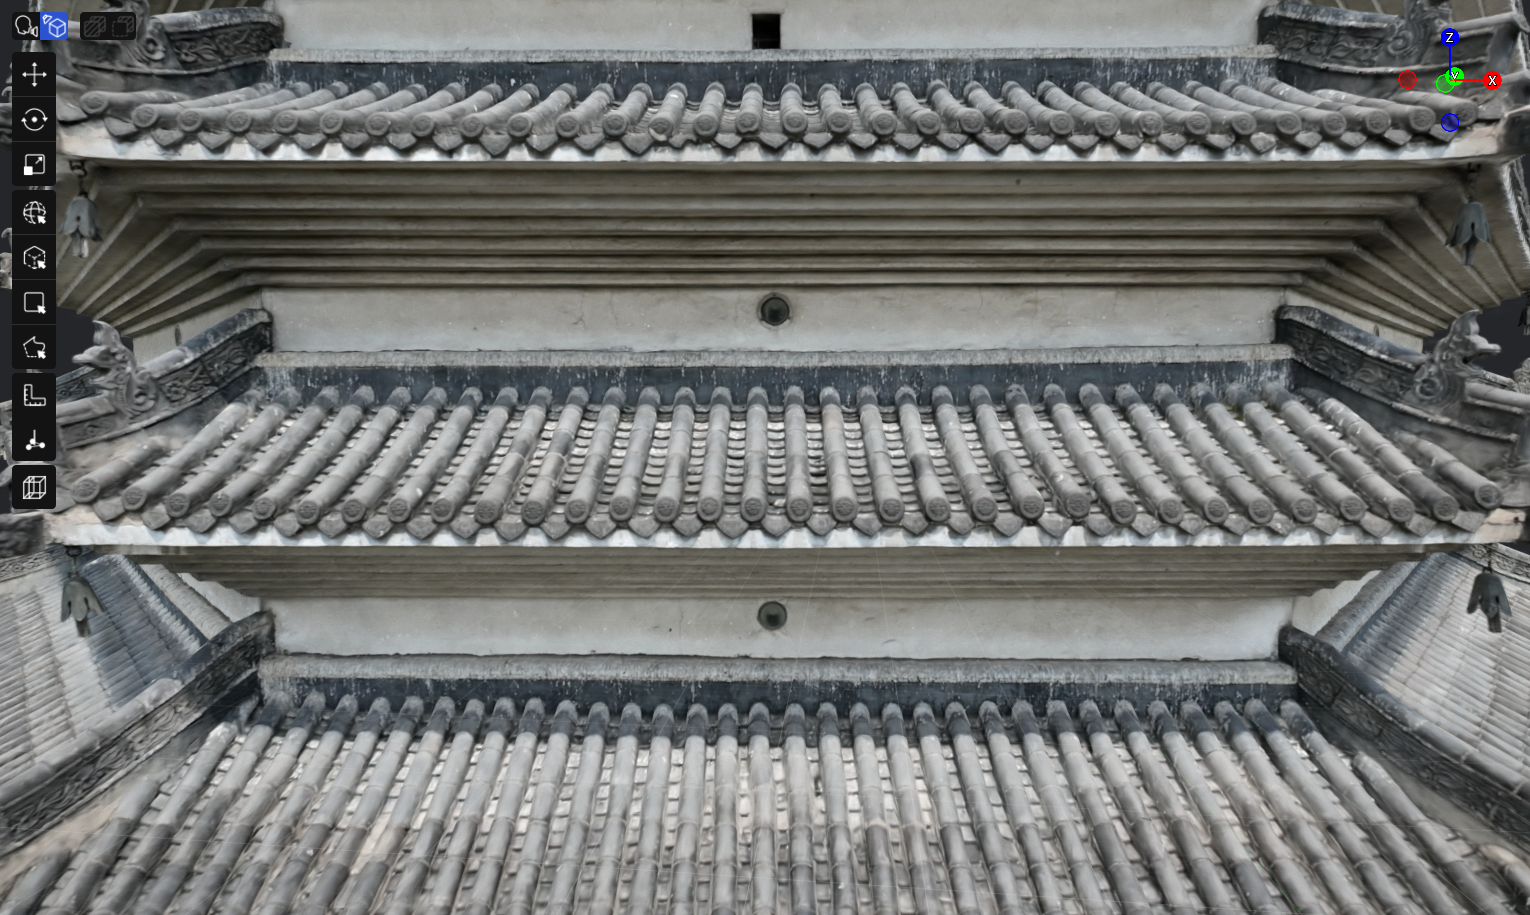
Mip Filter off
Plaque
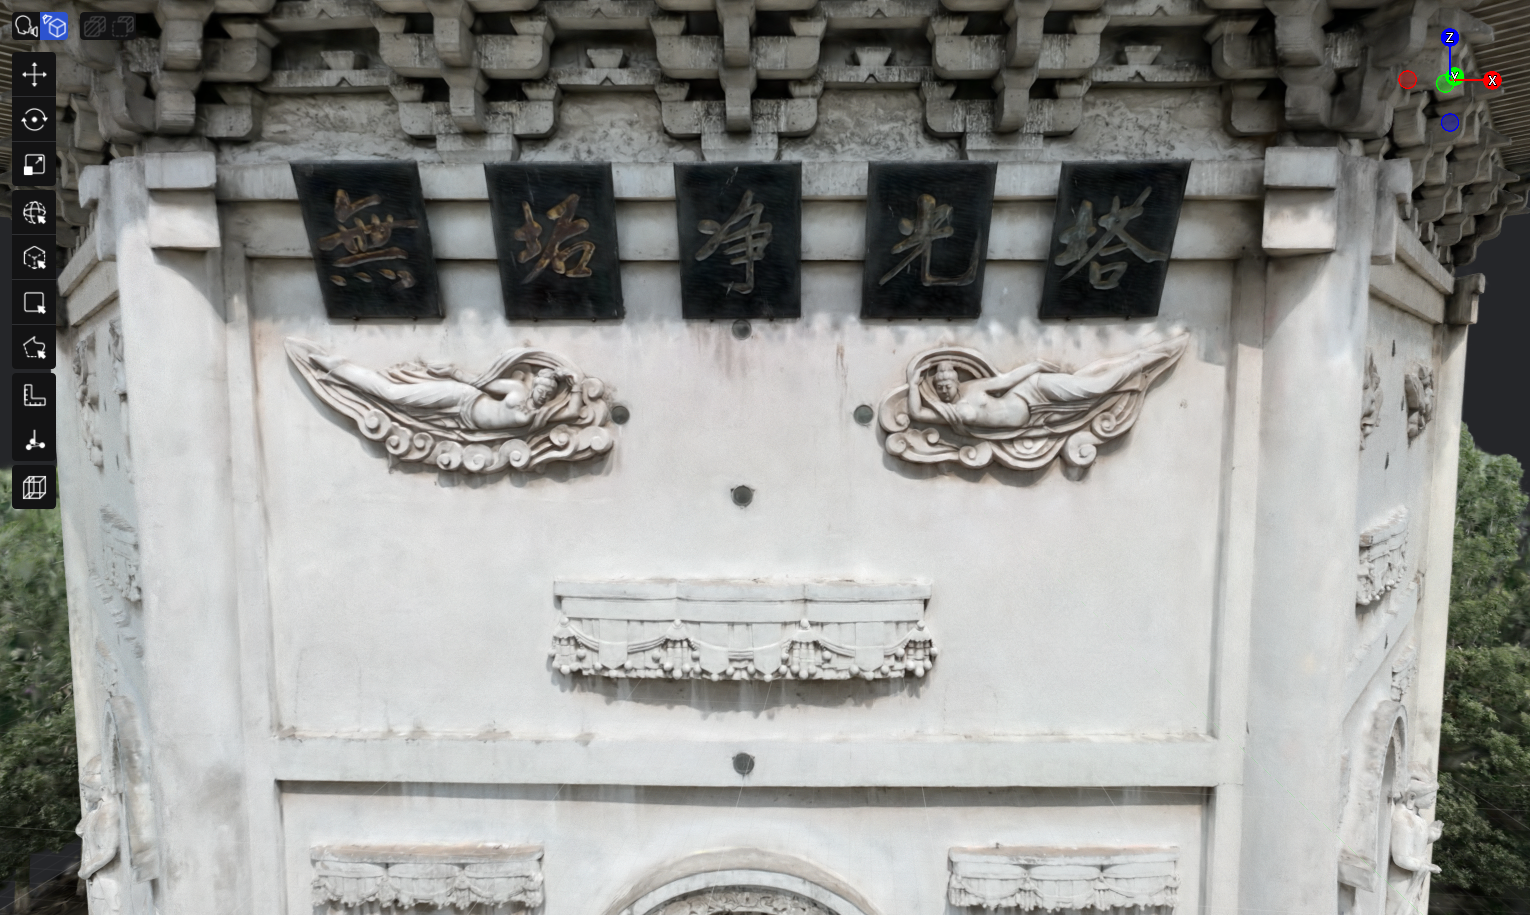
Mip Filter on
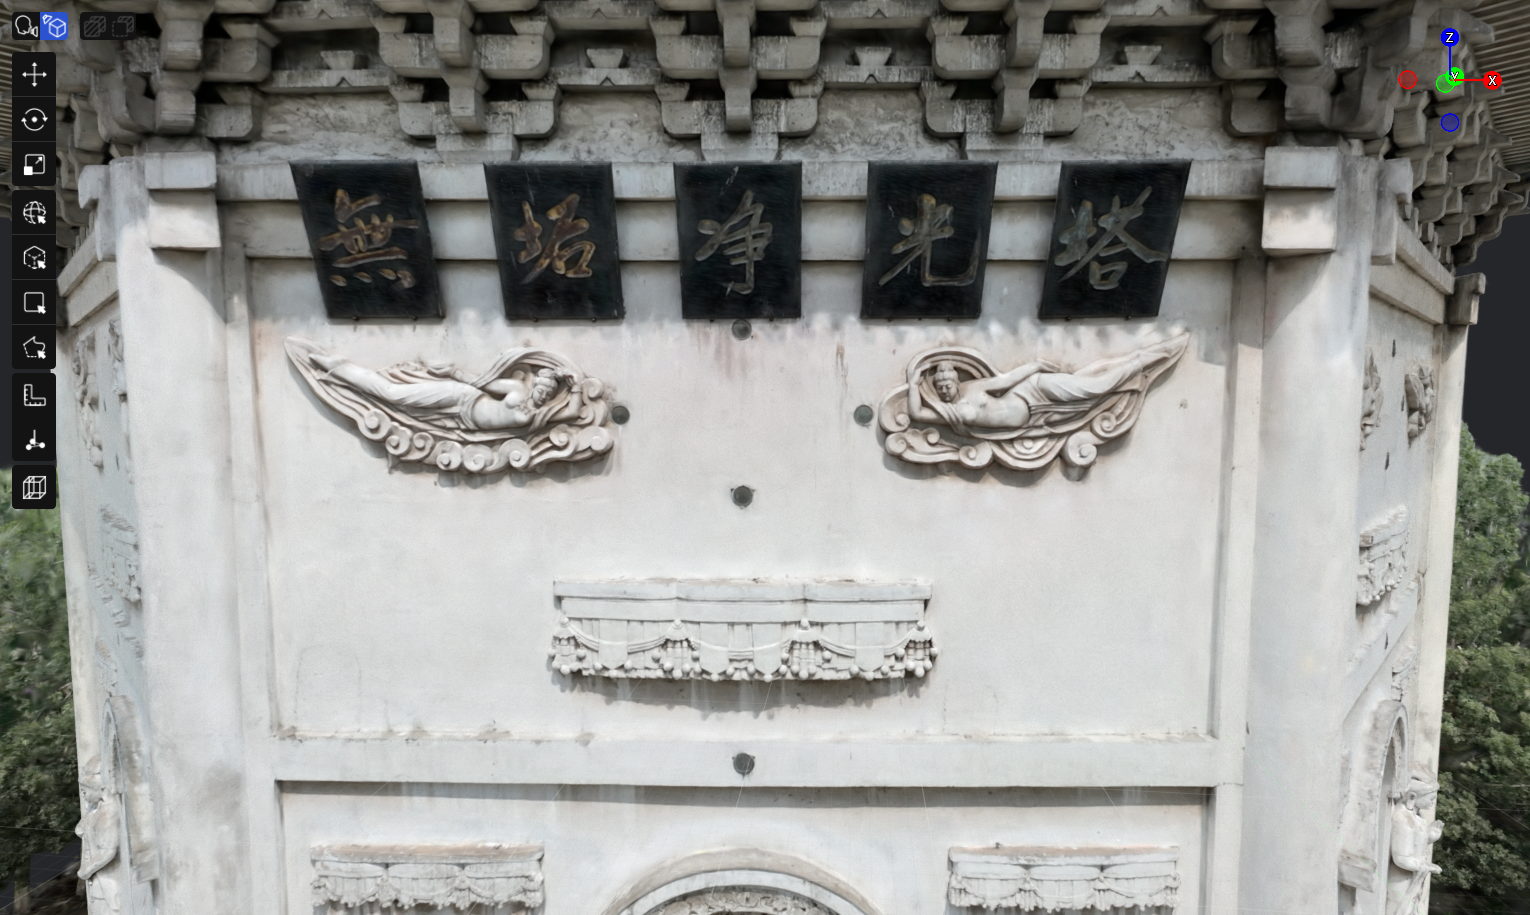
Mip Filter off
Buddha Statue
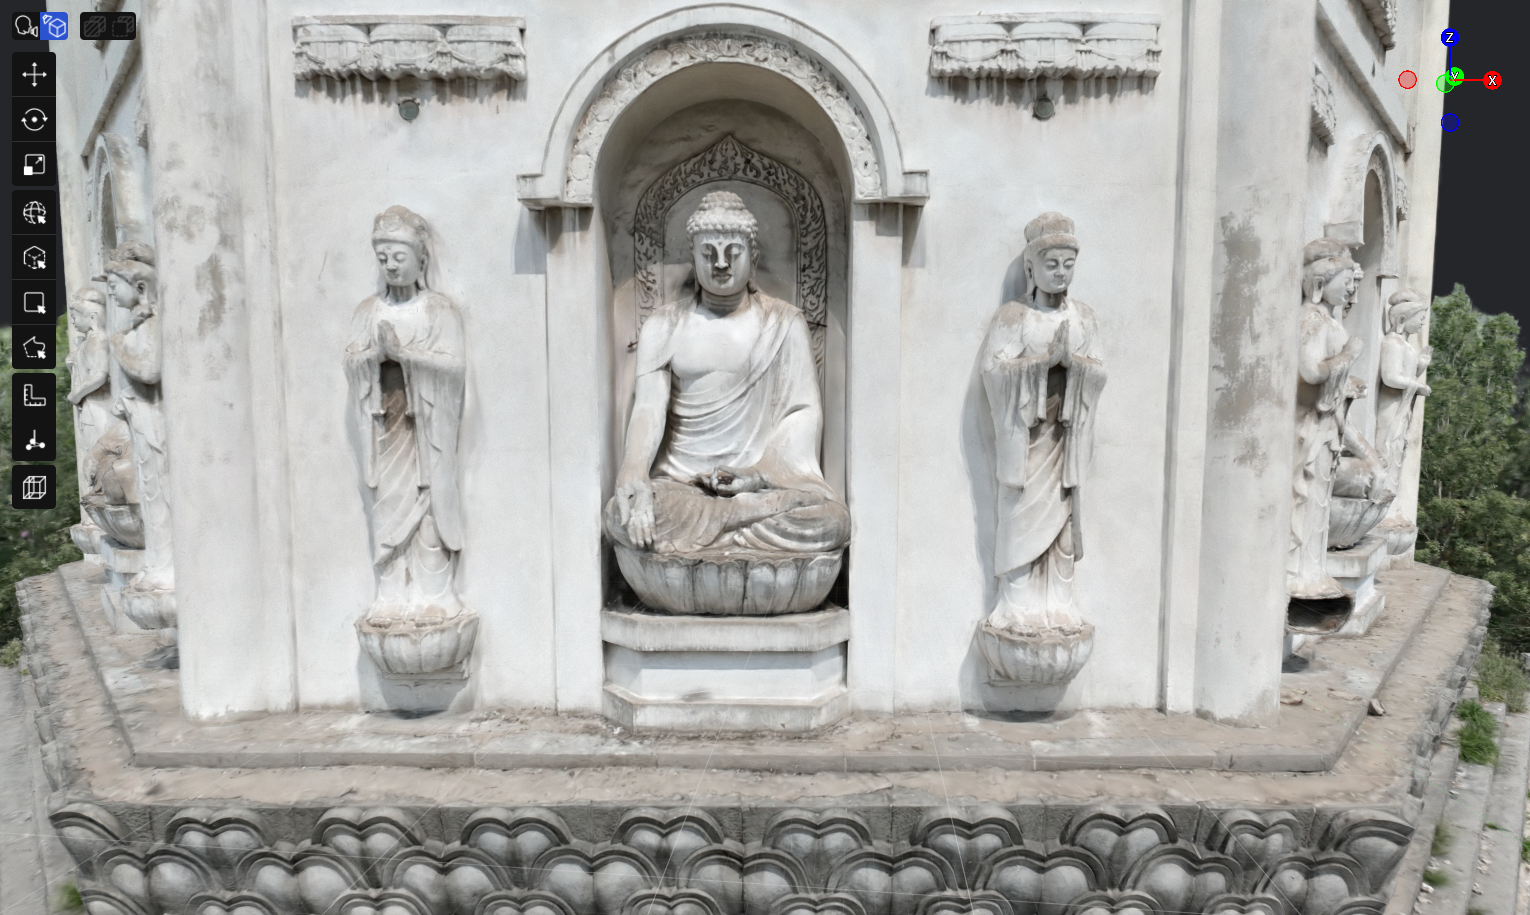
Mip Filter on
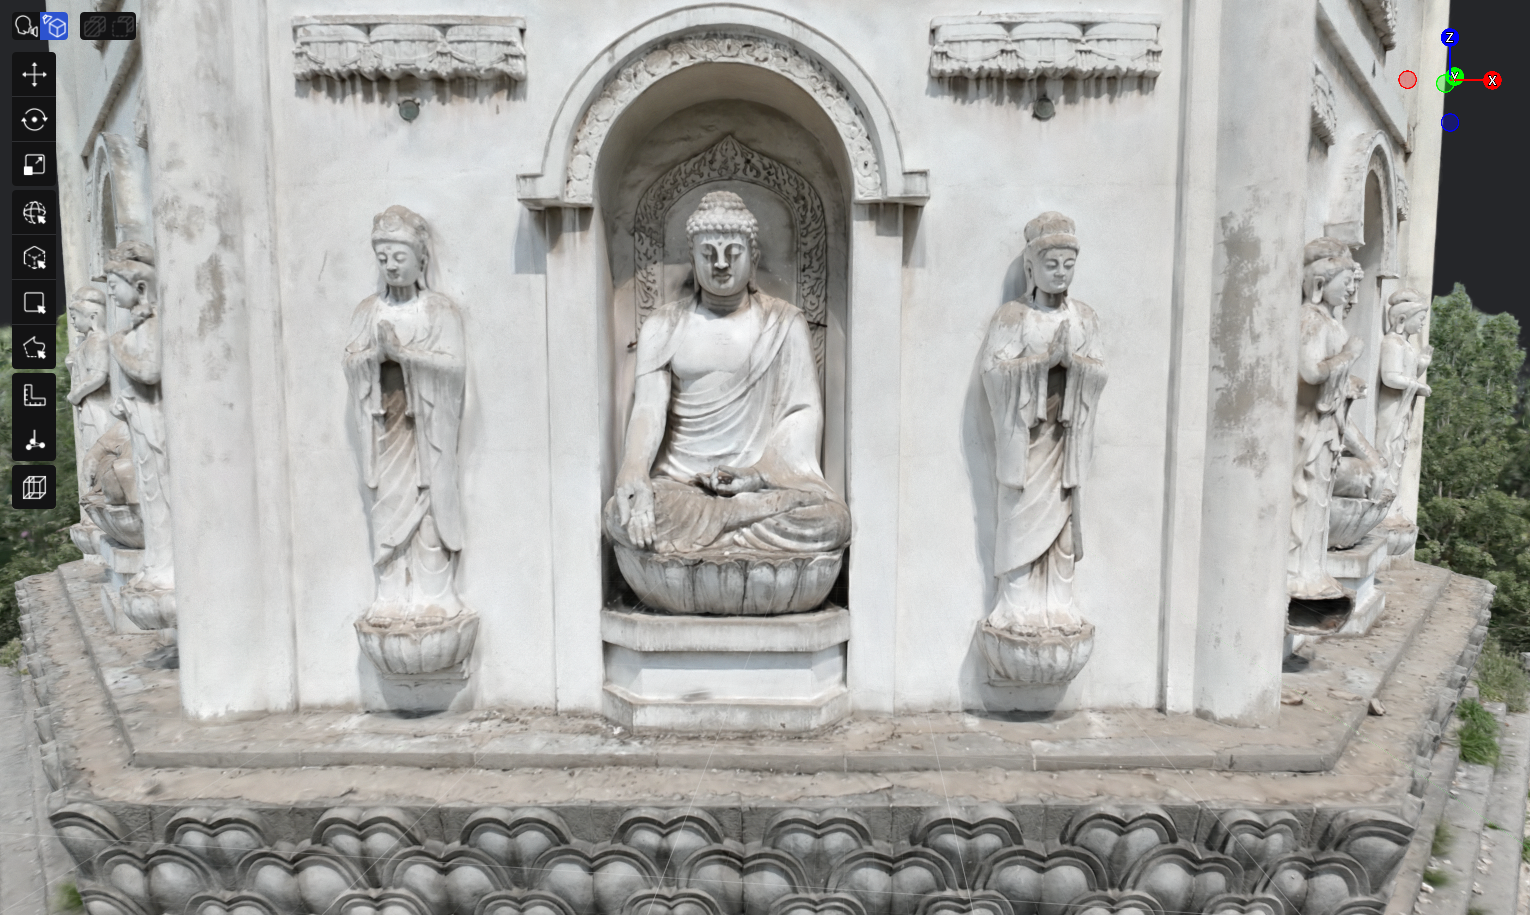
Mip Filter off
Initial State
When importing a model, Mip Filter is enabled by default. You can turn it on or off to suit rendering needs.
Switching Mip Filter
- Enter Edit mode and select a model.
- In Properties Panel > Render > Rendering Options, turn Mip Filter on or off.
- Save the project.
Check highlights and small, dense model details to determine whether the result meets expectations: LCC / LCC2 models are usually more stable with Mip Filter on. If a third-party PLY model looks softer or its contours become weaker with Mip Filter on, turn it off and check again.
Environment Data
- Only one model's environment data can be active in a scene at a time