
Preview Mode (Viewer)
Preview Mode is used to browse opened LCC scenes. It supports basic roaming, viewing viewpoints and scene reports, and provides measurement capabilities for dimensions and areas.
Interface Overview
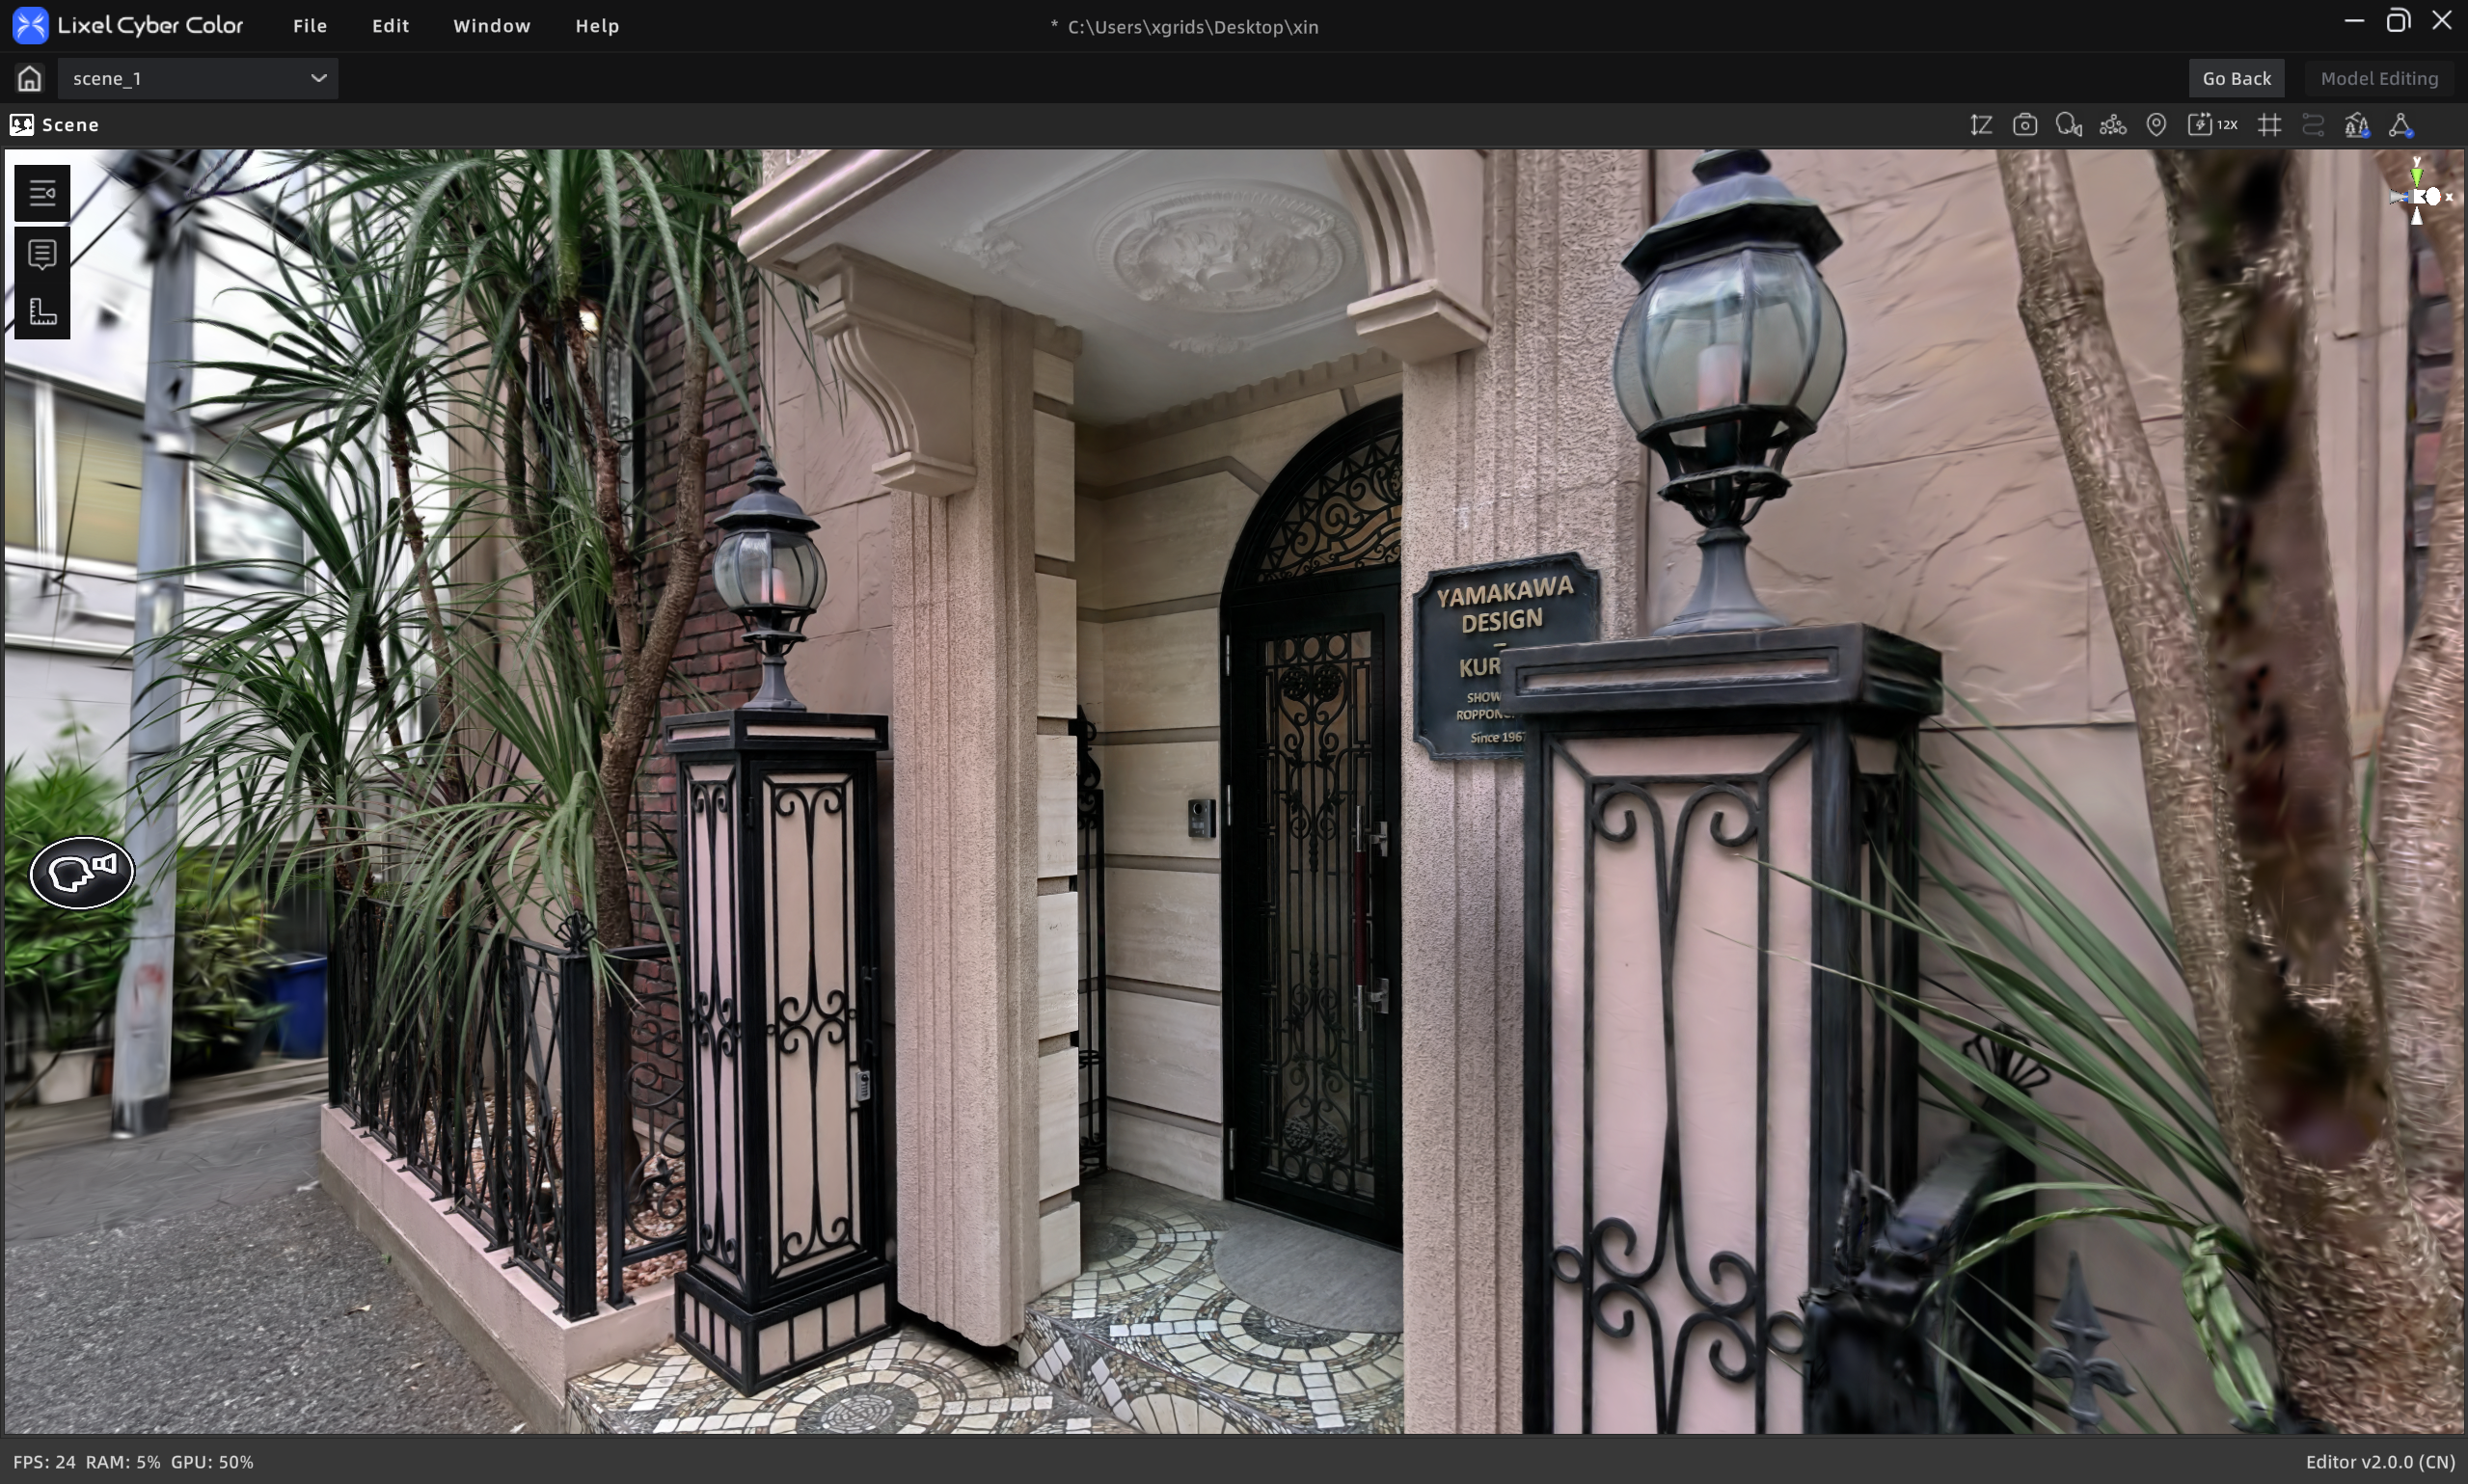
Preview Mode interface
View Toolbar
| # | Button | Description |
|---|---|---|
| 1 | Height Filter | Enable/disable Z-axis height filtering |
| 2 | Photo | Capture a screenshot of the current view |
| 3 | Mode Switch | First-person / Pivot / Digital human |
| 4 | Point Cloud Switch | Toggle between Point Cloud and Gaussian rendering |
| 5 | Return to Origin | Reset camera to starting position |
| 6 | Camera Speed | Adjust camera movement speed |
| 7 | Grid | Show/hide grid lines |
| 8 | Scanning Path | Show/hide scanning path |
| 9 | Environment Data | Toggle environment data display |
| 10 | Collision | Enable/disable collision |
Professional Toolbar
| # | Button | Description |
|---|---|---|
| 1 | Viewpoint | View/jump to tour viewpoints |
| 2 | Annotation List | View/jump to annotations |
| 3 | Measurement | Temporary measurement (not saved) |
| 4 | Scene Report | Open Scene Report (hidden when no report exists) |
View Toolbar Details
Height Filter
Control model visibility by adjusting Z-axis height.
- Click the Height Filter button to enter height filter mode
- Drag the height adjustment sliders from the top/bottom
- Click the Height Filter button again to exit (the current height filter state is recorded upon exit)
Photo
Capture a screenshot of the current view and save it as an image file.
Mode Switch
Three navigation modes are available:
- First-person mode: Navigate the scene freely in first-person perspective
- Pivot Mode: Orbit around a target point for observation
- Digital human mode: Roam the scene as a digital character
Point Cloud Switch
Switch the model view to Point Cloud view for a more intuitive look at model structure, data density, or scan precision. You can still freely move and observe in all modes after switching.
Return to Origin
Quickly reset the camera position to the initial position near the scanner's starting location during data capture.
Camera Speed
Adjust camera movement speed for both roaming and pivot modes.
Adjustment methods:
- Toolbar slider: Drag to adjust, range 1–100
- Shortcut:
Ctrl+ mouse scroll wheel
Speed settings are global and persist across projects.
Grid
Show/hide the grid lines in the scene to assist with spatial positioning and alignment.
Scanning Path
Show/hide the scanning trajectory path from data capture.
Environment Data
Toggle environment data display.
Collision
Enable/disable collision. When enabled, the camera collides with objects in the scene during roaming, simulating a real walking experience.
Professional Toolbar Details
Viewpoint
Open the Viewpoint tool, click Tour, then click a thumbnail under Tour to quickly navigate to that viewpoint. Click to instantly switch to the preset view angle and arrive at the corresponding position.
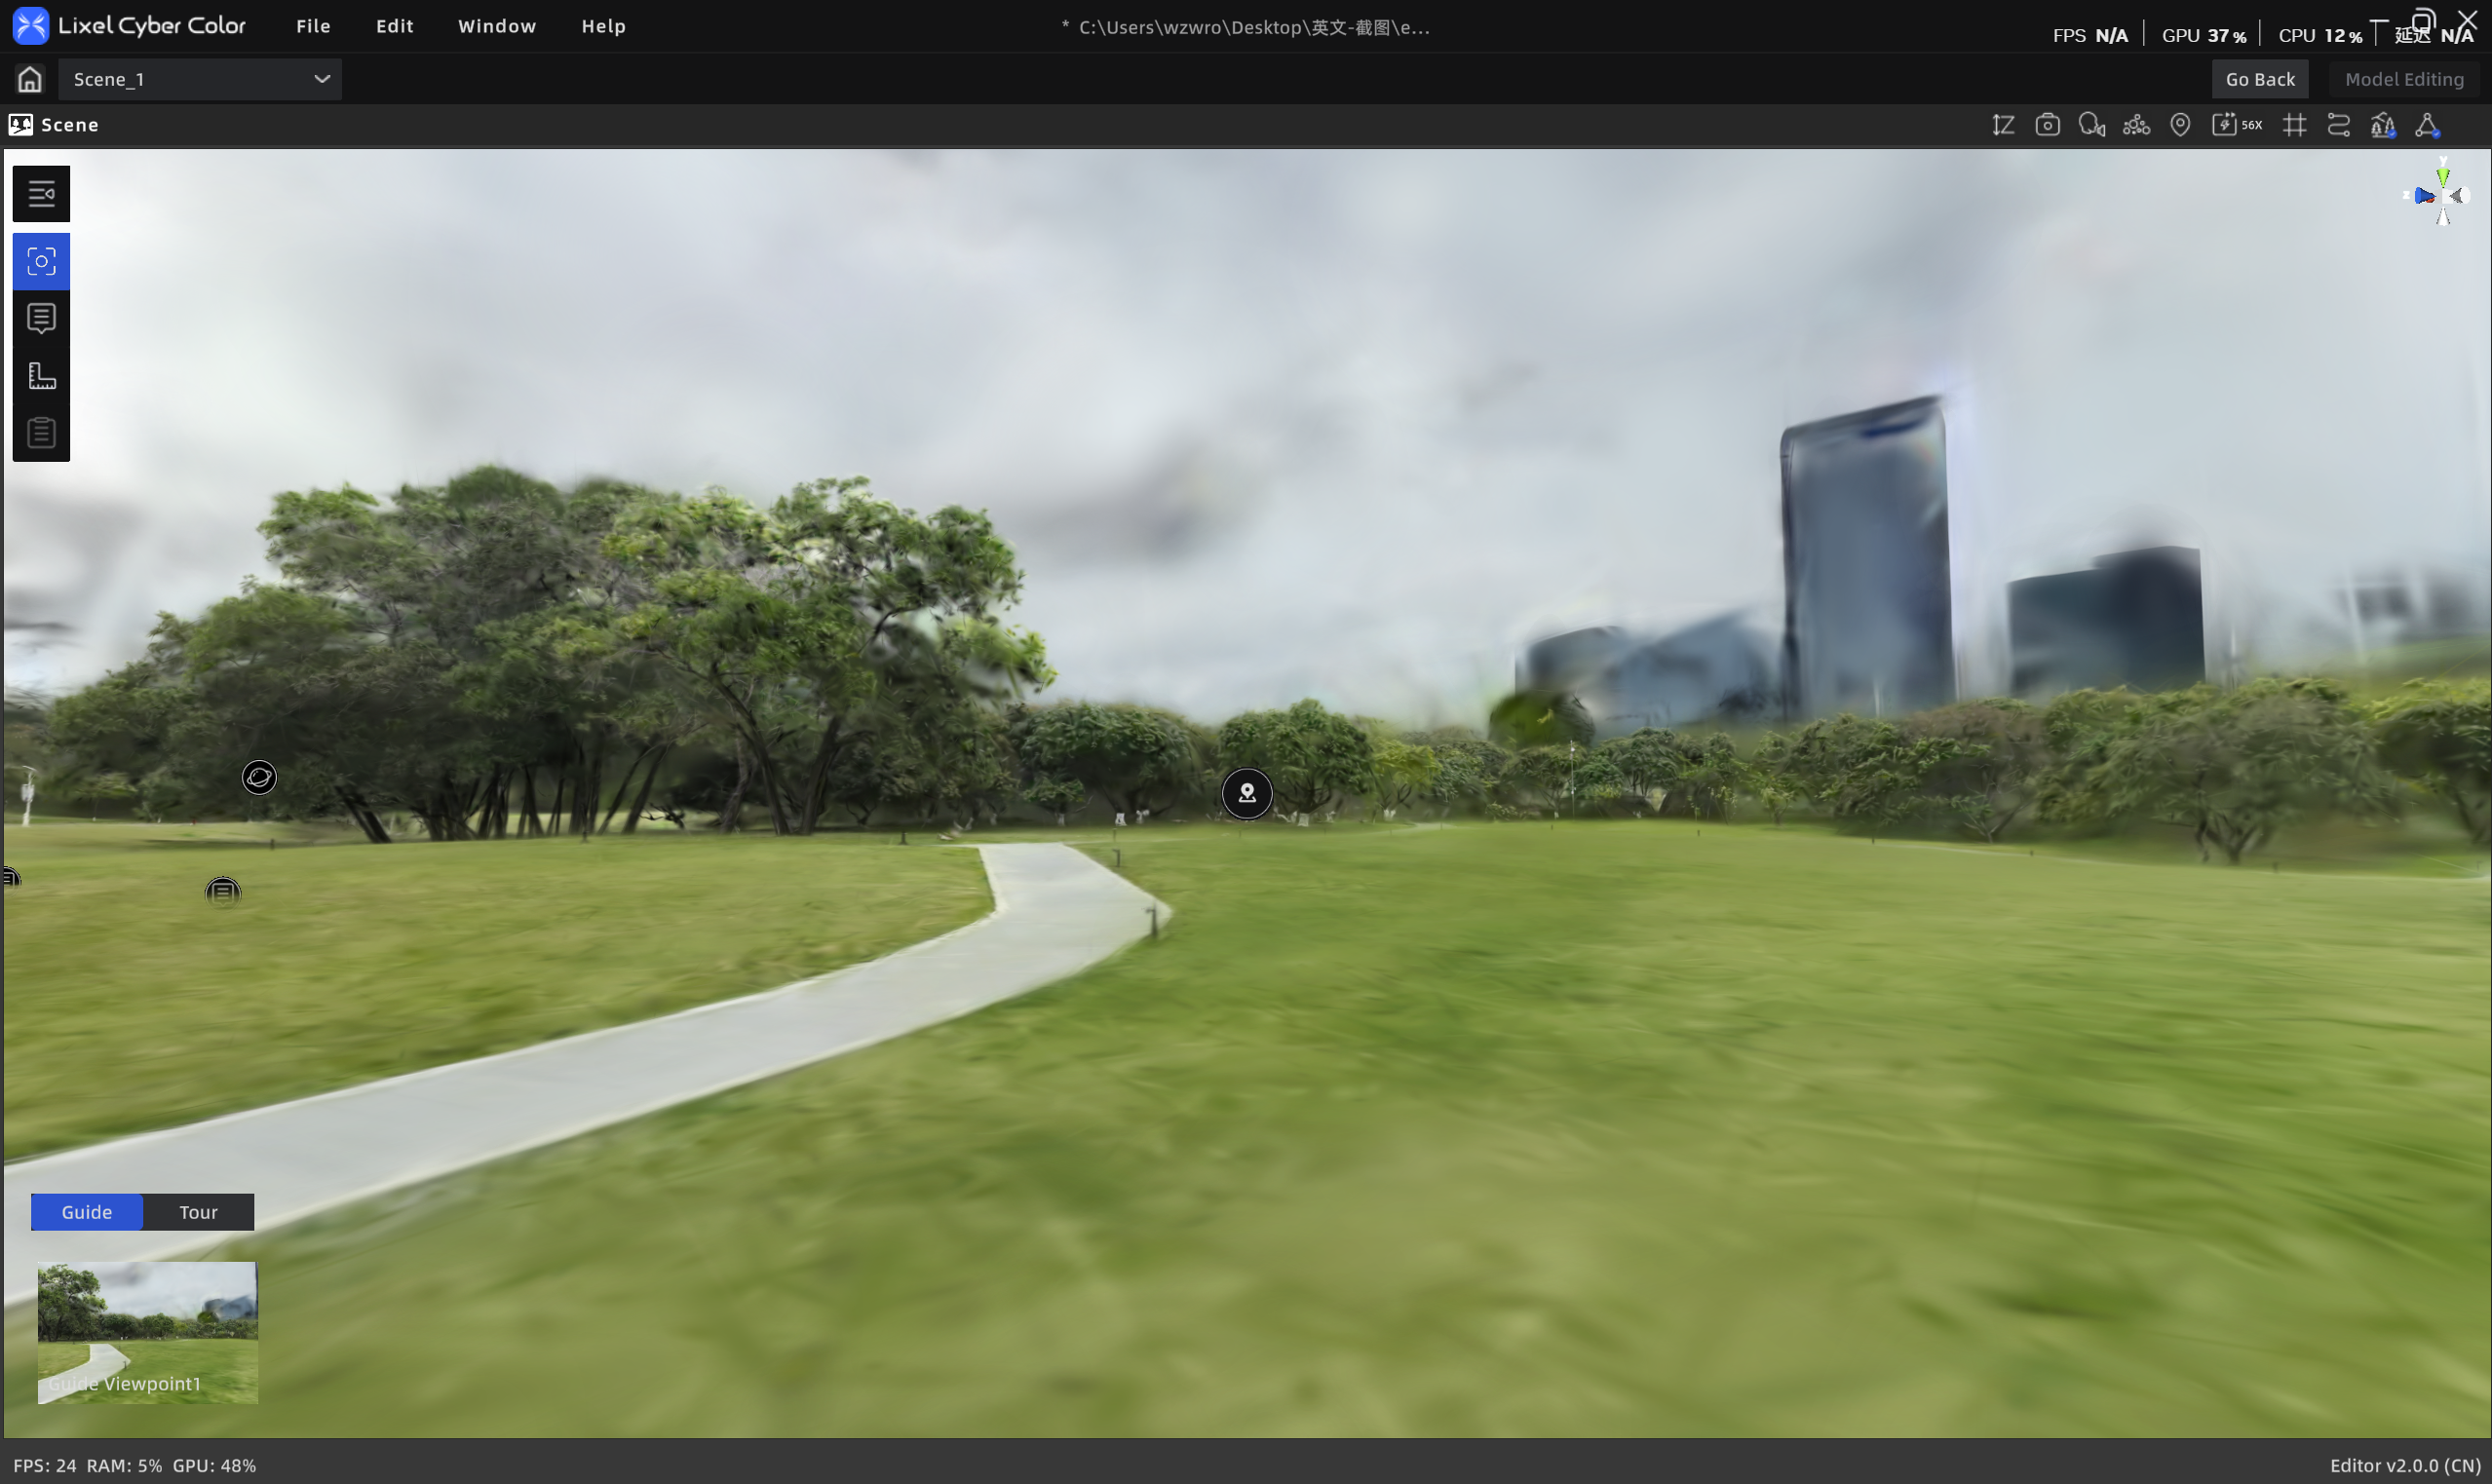
Tour viewpoints
Roaming routes consist of multiple tour viewpoints pre-set by the editor, arranged in sequence for automatically browsing key areas of the scene.
Annotation List
Supports viewing annotation content (photos/videos/links/text, etc.) in the scene.
- Click "Annotation" in the toolbar to open the annotation list
- Hover over an annotation in the scene to view brief information
- Click an annotation to view details
- Supports showing/hiding individual annotations
Measurement
Supports viewing measurement data.
Scene Report
The Scene Report is used to view previously generated report content, providing a consolidated view of floor plans, viewpoints (screenshots with dimension/area information), etc. The button is hidden when no report exists.