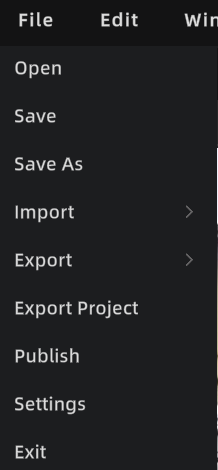
File
Open, save, save as, import, export, export project, publish, settings, and exit for projects and models in Editor.
File menu
Open
Open a project or model file from local storage.
- Open Project: continue editing the same project (model, assets, annotations, measurements, etc.).
- Open Model (e.g., .lcc / .ply): for temporary viewing or editing. For long-term maintenance, use Save to generate a project.
Steps: Menu Bar → File → Open → select the file → confirm.
Save
Save the current project's editing state.
Steps: Ctrl + S, or Menu Bar → File → Save → choose a location → OK.
Auto-save:
- Applies to projects only; temporary projects are not auto-saved.
- Backups are stored in the project's
autosavefolder. - Keeps one latest copy, retained for one month.
- Triggers after 3 minutes of inactivity, then every 10 minutes.
If the current work is a temporary project, the first save prompts for a project name and storage path.
Save As
Save the current project as a new version, leaving the original unchanged.
Import
Import external resources into the current scene.
Entry: Menu Bar → File → Import
Import 3DGS Models
Supported formats:
| Format | Description |
|---|---|
| LCC2 | Loads directly, no conversion |
| LCC (LCC1) | Prompts for format conversion on import; converts to LCC2 after you choose a storage path |
| PLY | Converts to LCC2 silently in the background on import |
Import Mesh Models
Supported formats: FBX / OBJ / GLB
Import Other Resources
Supported: colliders, 3D Layout, developer data, AI recognition data
Export
Export editing results as deliverable files or data.
- 3DGS models: LCC, LCC2, and PLY (export individually only; merged export not supported)
Export Project
Export the current project as a complete project file for other Editor users to continue editing.
Entry: Menu Bar → File → Export Project
Contents: all model data, scene structure, annotations, measurements, viewpoints, and other editing data. Others can load it via Open Project to continue editing.
Note: Export Project is for team collaboration or backup. It is distinct from Export (single model file) and Publish (online viewing link).
Publish
Publish the project as a Web Viewer link for online sharing and viewing.
Entry: Menu Bar → File → Publish
After model editing, changes sync back to the main editor automatically. Publish directly, with no manual export-and-reimport.
Steps:
- Click Publish to start.
- Wait for completion (progress shown).
- A dialog shows the link. Click to copy.
Settings
Open the Settings panel to manage Editor configuration. See Settings.
Exit
Close the application.