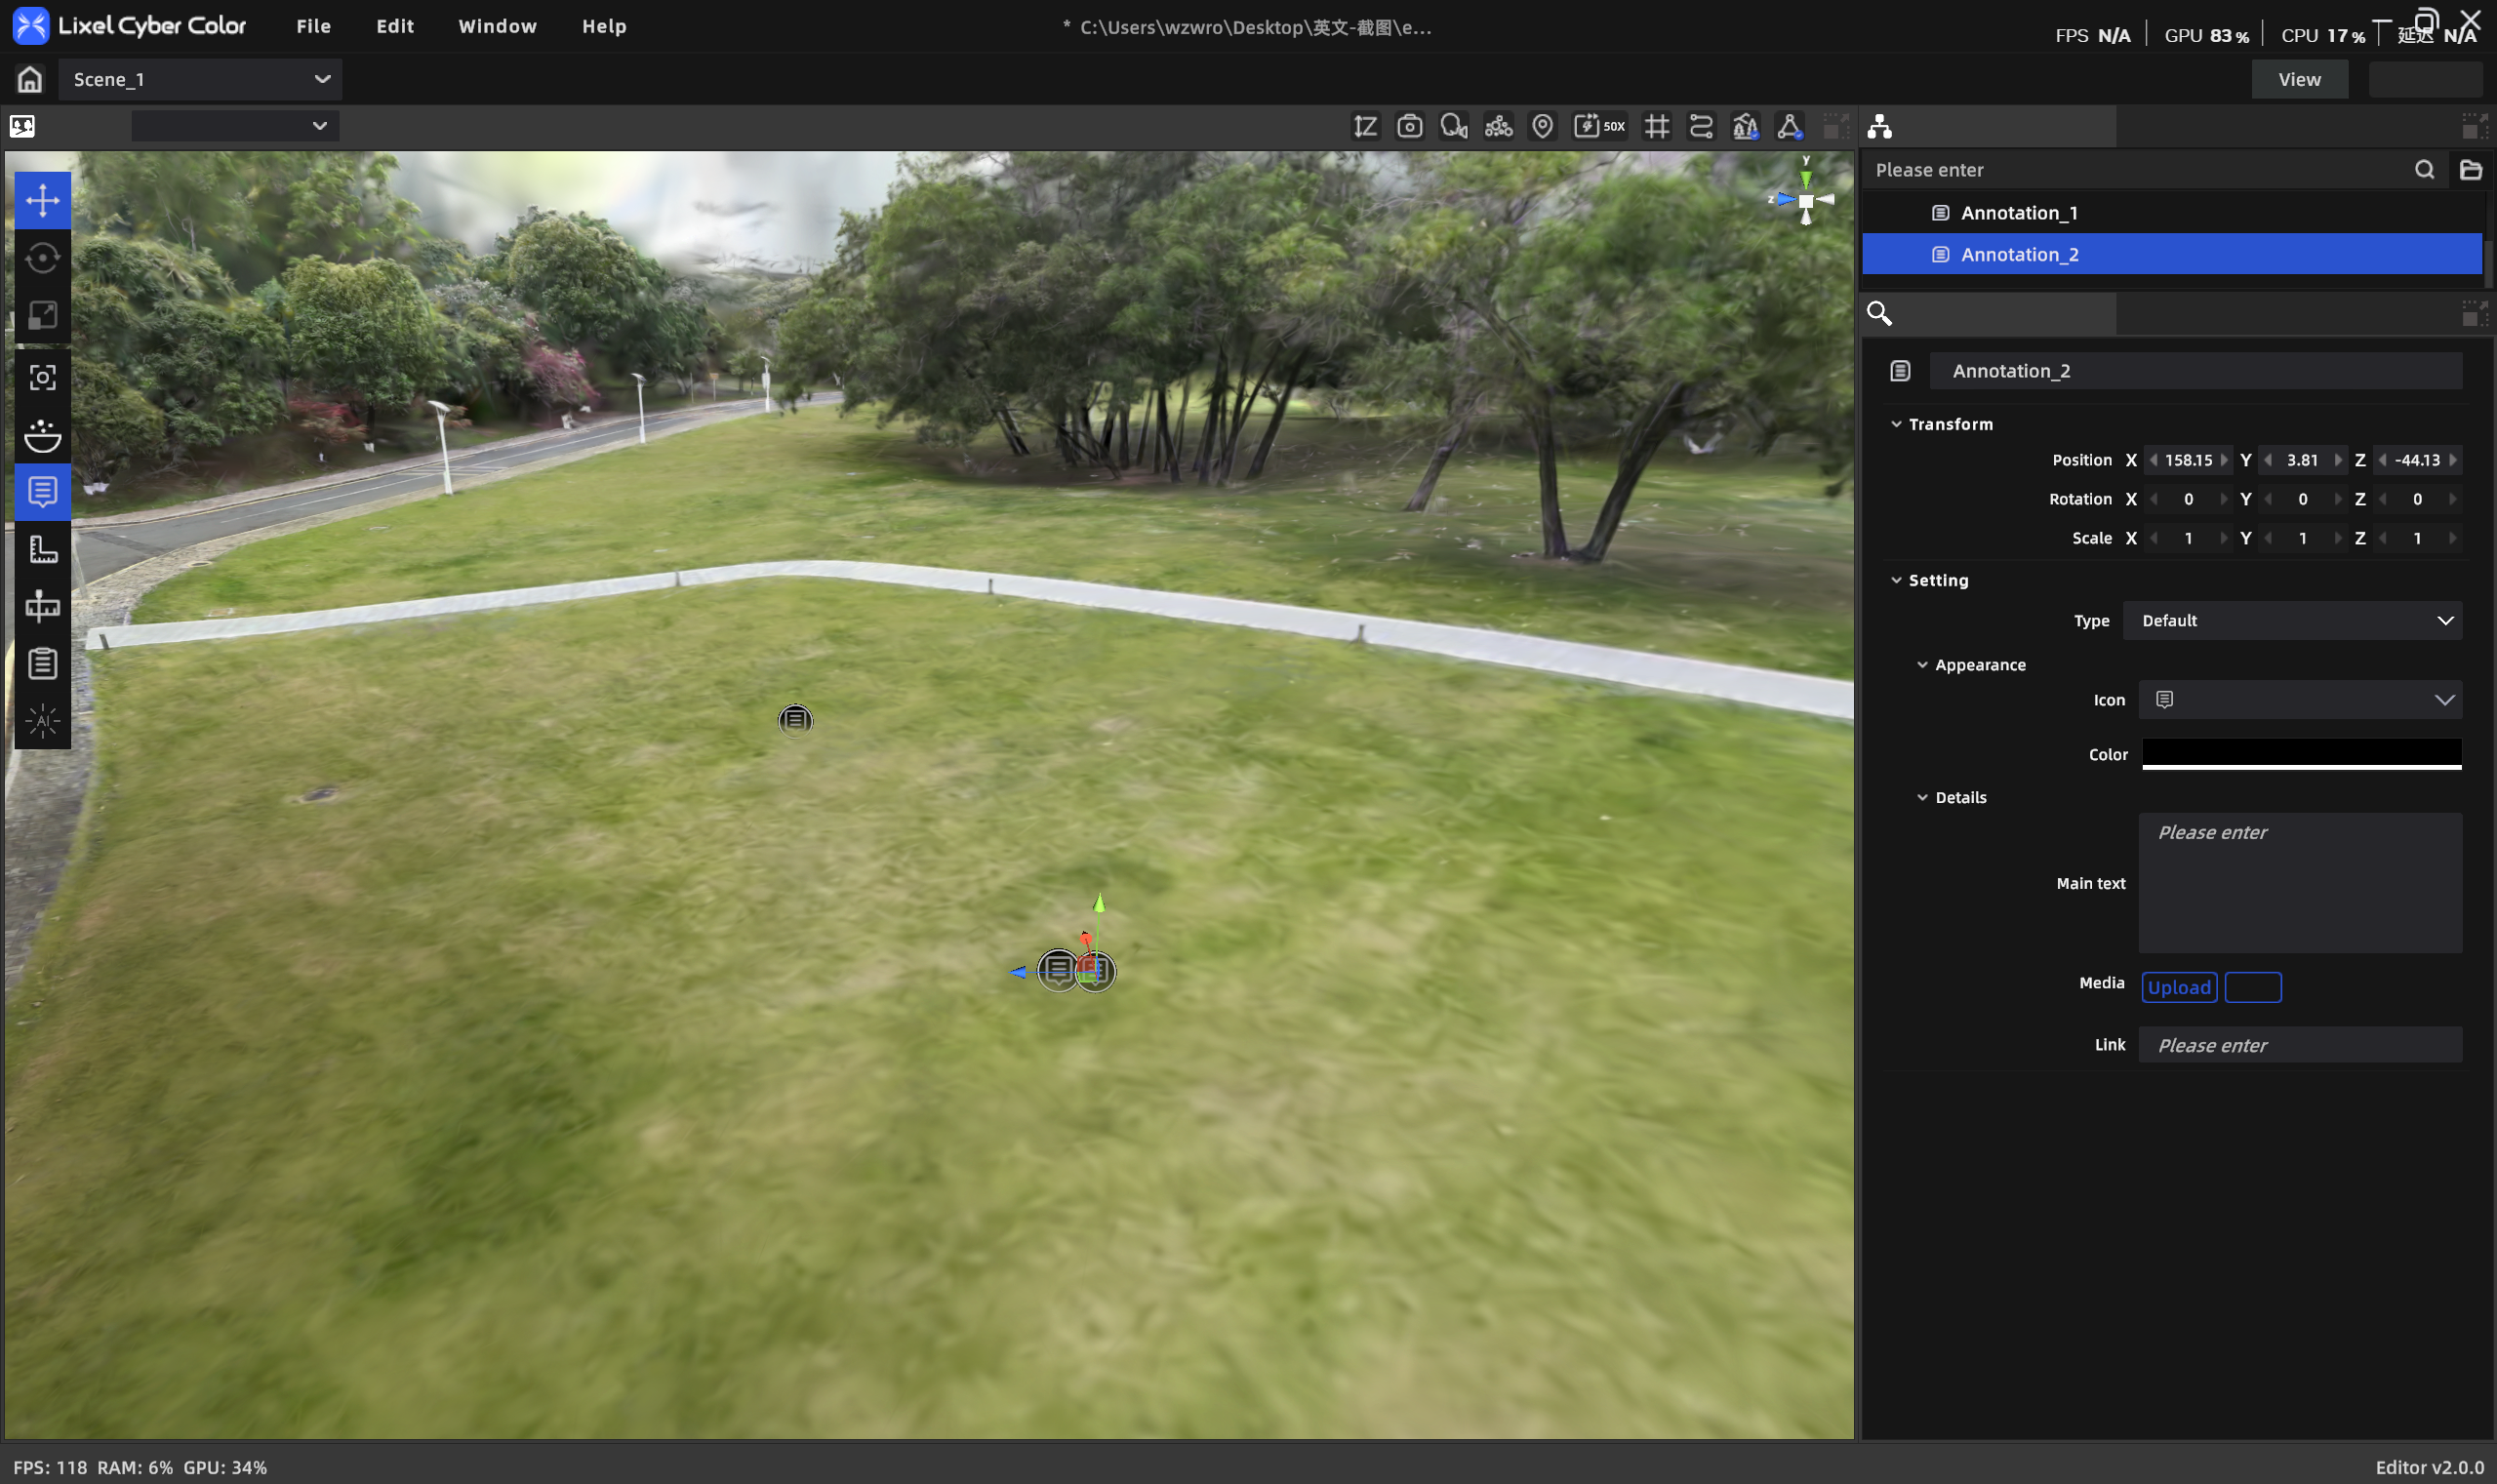
Annotation
The Annotate tool adds clickable annotation points containing a title, body, media, and links. Two types: Display Annotation and Transition Annotation.
Annotation
Workflow
Add an Annotation Point
- Click Annotate in the toolbar to enter annotation mode.
- Click a point on the target model surface to place the annotation.
- Choose a type: Display Annotation / Transition Annotation.
- Fill in the content in the properties panel.
- Click Annotate again to exit annotation mode.
Display Annotation
- Choose icon style/color
- Title (required, ≤50 characters)
- Body (≤1000 characters)
- Media:
- Snapshot: click Snapshot → adjust the view → capture (up to 5)
- File: click [+] in the media area; supports jpeg/png/mp4, up to 5 files, ≤500MB each
- Link: paste a URL in the Link field
Transition Annotation
Transition Annotation
- Title (required, ≤50 characters)
- Transition target: choose an existing scene from the list, or add a new scene from local storage
Edit and Manage
Edit Annotation
- Click an annotation in the asset list or 3D scene.
- The properties panel shows its content directly (title, body, media, link).
- Edit in the properties panel; no separate edit panel is needed.
- Drag the annotation point in the 3D view to reposition it.
Delete Annotation
- Select the annotation in the 3D view or asset list.
- Press Delete, or right-click → Delete.
Visibility
- Use the eye icon on the annotation's asset-list entry to show/hide a single annotation.
- The Annotate toolbar button is a creation entry only; it does not control overall annotation visibility.